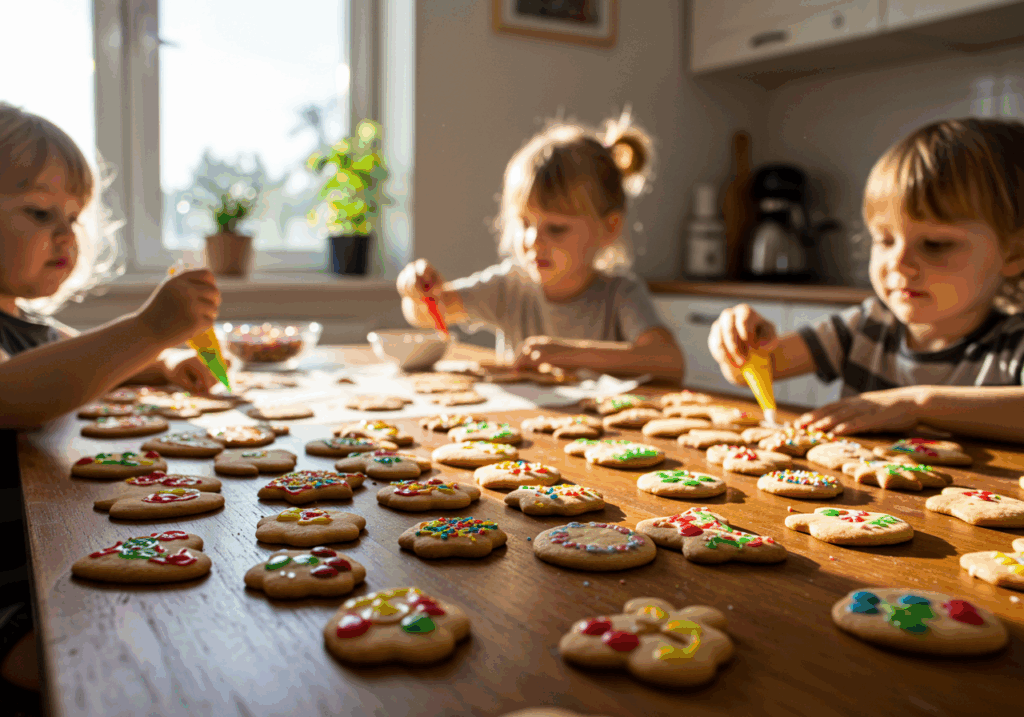
Fun Ways to Decorate Cookies with Your Kids
1. Royal Icing Techniques
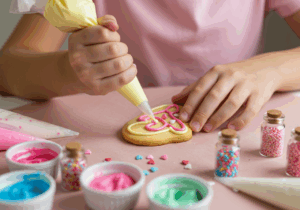
Royal icing is one of the most popular and versatile icing options for decorating cookies. It’s thick enough to pipe into intricate designs and smooth enough to cover your cookies with a clean finish. Plus, it hardens quickly, so you don’t have to worry about your decorations smudging.
How to Make Royal Icing: Mix powdered sugar, meringue powder (or egg whites), and water until you get a smooth, glossy texture. Divide the icing into bowls and add food coloring to create various shades.
Fun Ideas:
- Piping Designs: Use piping bags to create detailed patterns like flowers, swirls, or letters. Kids can help by drawing simple shapes or their names.
- Coloring in with Flood Icing: After piping an outline, flood the inside with a thinner consistency of royal icing to create smooth, even layers of color.
2. Sprinkle Art
Sprinkles are an easy way to add color and texture to your cookies without much mess. From rainbow-colored sprinkles to themed shapes, the possibilities are endless.
How to Use Sprinkles: After frosting your cookies, sprinkle your colorful decorations on top while the icing is still wet. You can even combine different types of sprinkles to create patterns or textures.
Fun Ideas:
- Color Patterns: Use different colors to create rainbow patterns, ombre effects, or even themed patterns like hearts or stars.
- Edible Glitter: Add some shimmer to your cookies by using edible glitter. This works great for special occasions like birthdays or holidays.
3. Edible Paints

For a fun and messy (but completely edible) way to decorate cookies, try using food-safe edible paints! These paints are perfect for little ones to unleash their inner artist without worrying about traditional painting supplies.
How to Make Edible Paint: Mix food coloring with a little bit of water to create a watercolor-like consistency. You can also use powdered food coloring mixed with vodka or lemon extract to make the paint more vibrant.
Fun Ideas:
- Painting Cookie Characters: Kids can paint cookie characters like animals, superheroes, or their favorite cartoons directly onto the cookies!
- Abstract Art: Encourage your kids to create fun abstract designs by swirling different colors together or using a brush to splatter paint on the cookies.
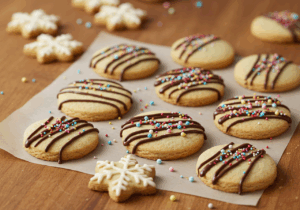
4. Candy and Chocolate Toppings
For an extra sweet touch, add candy or chocolate toppings to your cookies. Not only will they look adorable, but they’ll also taste even better!
Fun Ideas:
- Chocolate Drizzle: Melt chocolate chips and drizzle over your decorated cookies for a luxurious finish. This works especially well for sugar cookies or gingerbread cookies.
- Mini Candies: Use small candies like M&Ms, gummy bears, or licorice to create fun faces, flowers, or other designs.
5. Stenciled Designs
If you want to take cookie decorating to the next level, stencils can be a great tool for creating intricate designs quickly. You can find a variety of cookie stencils in different patterns—perfect for any occasion.
How to Use Stencils: Place the stencil on top of your cookie, then sift powdered sugar or cocoa powder over the top to reveal a clean and precise design.
Fun Ideas:
- Seasonal Stencils: Use stencils with holiday designs like snowflakes, pumpkins, or hearts to match the season.
- Lettering: Use stencils to spell out fun messages like “Happy Birthday” or “Congrats!”
Tips for a Successful Cookie Decorating Experience:
- Prep Ahead: Make sure your cookies are fully cooled before decorating so the icing doesn’t melt.
- Get Creative: Encourage your children to mix and match colors, shapes, and toppings. There’s no wrong way to decorate a cookie!
- Keep It Simple: For younger children, simpler designs with large frosting areas or sprinkles may be easier and more fun.
Conclusion
Decorating cookies is a wonderful way to spend time with your children, teaching them valuable skills while encouraging creativity. With just a few simple techniques and some imagination, you can transform plain cookies into edible works of art. So, roll up your sleeves, gather your decorating supplies, and let the fun begin!